Saturday, March 10, 2012

Scrapbook Steals Blog Hop

Welcome to the first ever Scrapbook Steals blog hop.  You should have come here from the Scrapbook Steals Blog page.  If not, head back over and start from there.  Don't forget to visit everyone's pages and leave a comment.  Scrapbook Steals will draw a name from all the comments to win a $20 Scrapbook Steals gift certificate.  Every comment is a chance to win!  How great is that!!!

I was beyond honored when Kristy Lee asked me to join in the fun. We have so many wonderfully talented girls part of this hop.  I just hoped I could live up to it.  :-)  When we were asked to create with Basic Grey Buttons and Brads, I was in heaven.  I love the colors that Basic Grey uses.  I went through a number of different ideas about what I wanted to do - from a scrapbook page to a topiary.  I finally settled on a button wreath.  I had never done one before and I thought it was time to add a little something crafty to my daughter's room, and this would a perfect time to kill two birds with one stone, as it were. 

So I set off to find what I needed to make one!  I used a white wreath form, a lot of glue sticks, some straight pins and, of course, the Basic Grey Brads & Buttons.


I sorted the brads and buttons according to size - with a little help from my little guy.


I spray painted the wreath gold so that if anything showed through when I got done layering buttons and brads, there would be a fun color showing.  Make sure you test your Styrofoam on an inconspicuous spot before you paint the whole thing.  Some paints don't mix with some Styrofoams.  I got lucky with mine and it all worked out just fine.


From there, it was a matter of layering buttons and brads all over the wreath.  I started with the largest buttons and kept working my way down through the sizes.  I discovered the heads of my stick pins were too small for the bigger buttons, but they worked perfect for the small buttons, so I used them as a pop of silver accents throughout the wreath.


Here is the final product.  My almost 5 year old son had fun working with me on this project - handing me the next buttons, brads, etc.  And now he has claimed this wreath as his own.  Guess I will be making another one for my daughter's room!


I hope you enjoyed taking a look at how I made this fun wreath. 

Here is the Blog Hop Order.  Be sure to visit everyone and leave a comment.  Remember - the more comments you leave, the more chances you have to win that $20 gift certificate! 
I will also be choosing a separate winner from the comments on my site.  You don't have to be a follower, but I would love it if you do!  I will use Random.org to pick a winner Monday morning.

Cheers!

Monday, March 5, 2012

PGCB Challenge #3

Hi!
For Challenge #3 on The Paper Girls Challenge Blog, it was my turn to come up with the challenge.  Being that I love to stamp, it only seemed natural that I come up with a stamping challenge.  I love to make cards and use stamps in the background of my cards, but I often forget to use them on my scrapbook pages.  I figured this would be a good challenge, not just for myself, but other scrapbookers too!

I started this page with a white paper, embossed with a diamond pattern from the Presto Patterns Designer Series Paper by Stampin' Up. 


I used my chalk inks and rubbed a rust and yellow gold color on to the paper to make the diamond pattern stand out. I wanted to give it an antique look to go with the picture of my grandparents' wedding day 68 years ago.  I stamped the Everlasting Romance Stamp from Unity Stamp Company with Versamark and then embossed it with some pewter embossing powder.  I added some cream color Thickers from American Crafts.  They got lost on the page, so I colored them with some Copic markers.  Now you can actually read the title.  :-)  I was also amazed at how the journaling tag from My Mind's Eye's Laundry Line matched the colors I picked for the background.  It was purely by chance.  Some pearls, ribbons, flowers and brads and the layout was done. 

Here is the final product!


Thanks for stopping by.  Be sure to check back soon!

Cheers!

Tuesday, February 28, 2012

February Authentique Challenge

This month, I finally got to play along with Authentique Paper sketch challenge.  I guess it is a good thing February has 29 days in it this year.  I needed that extra day!

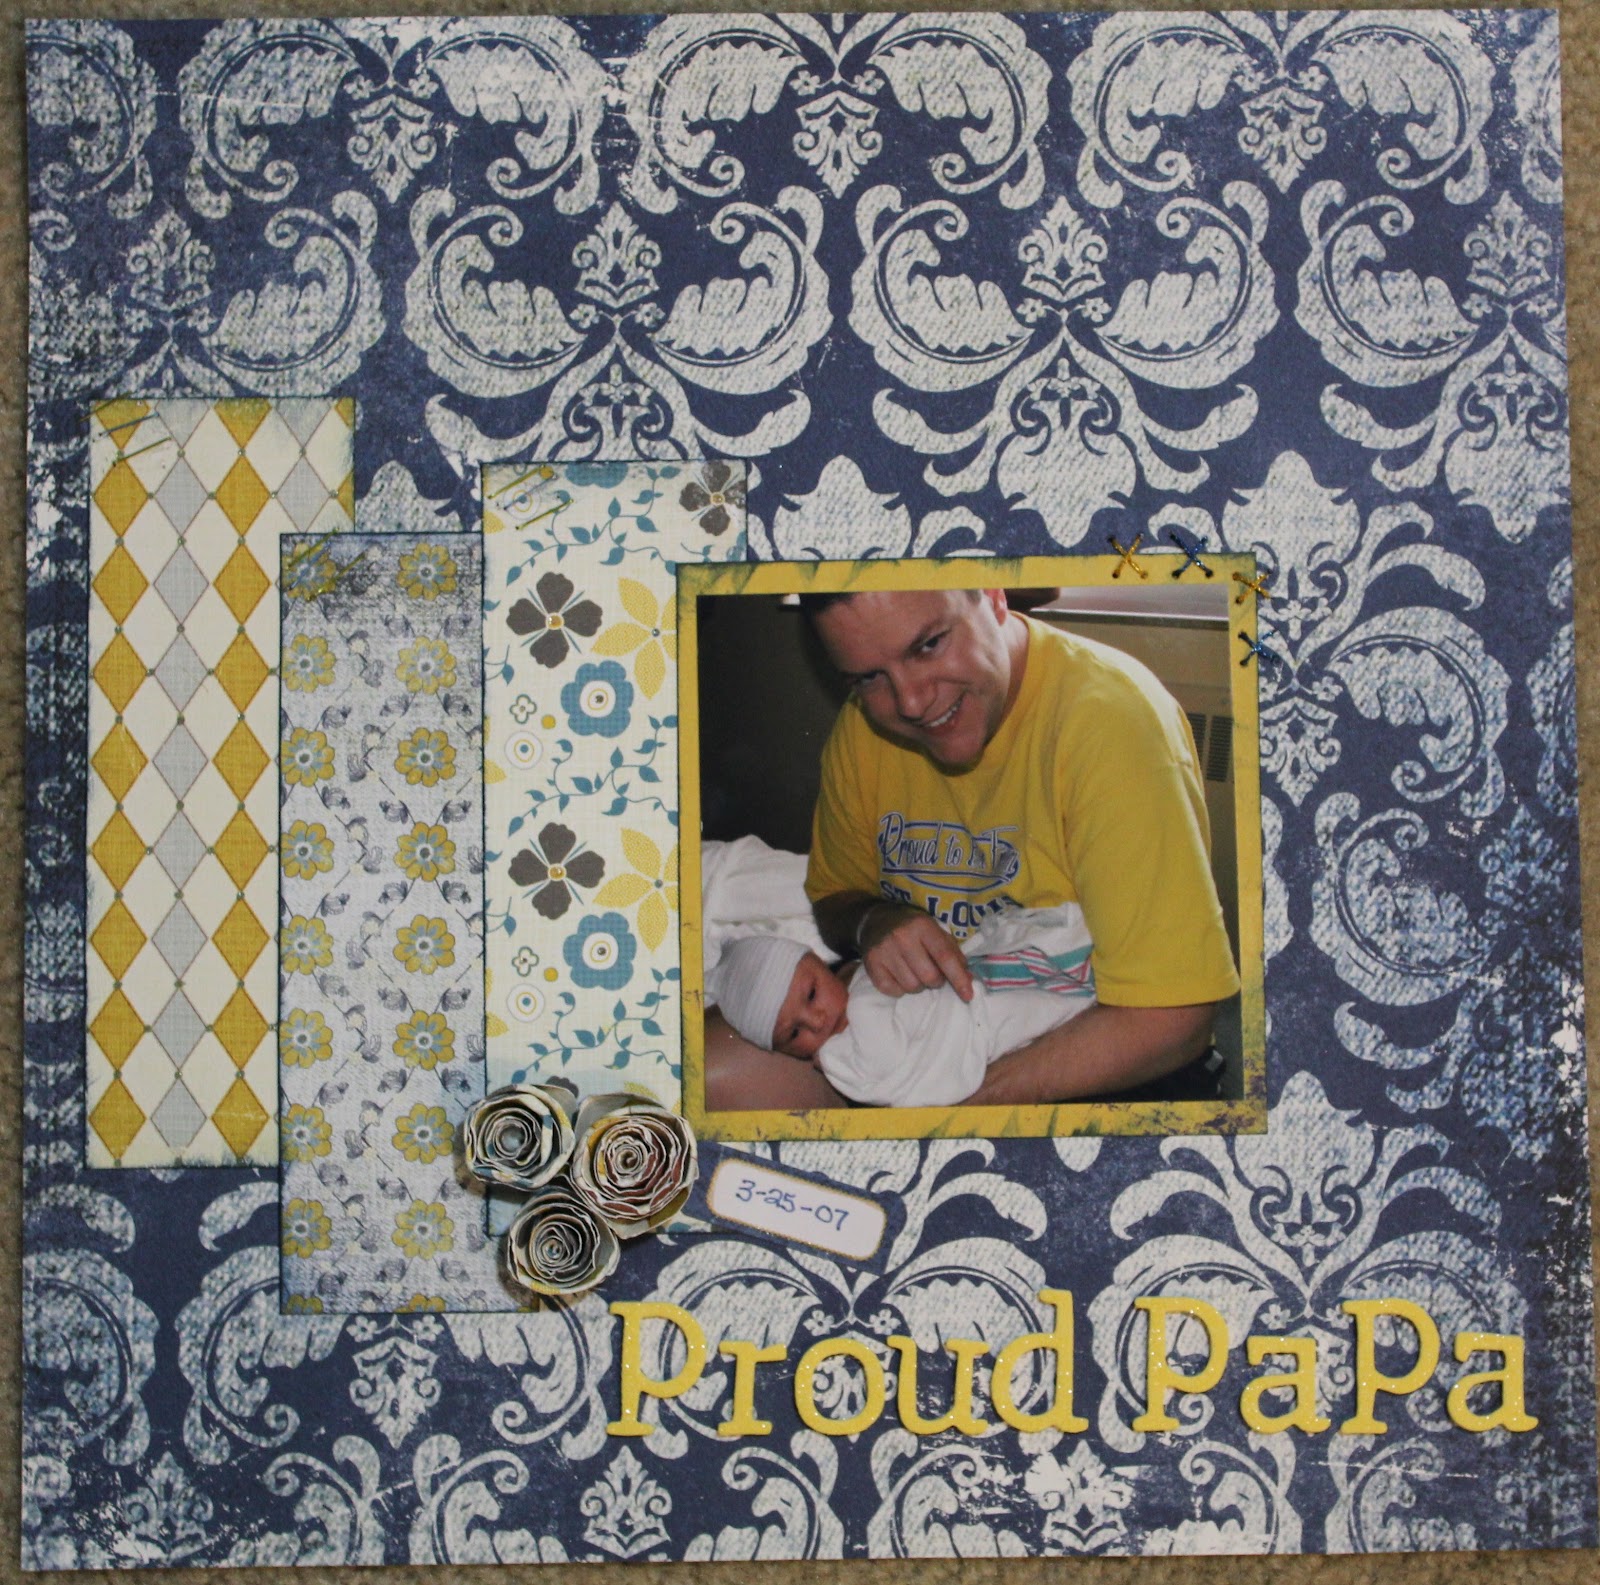
When I saw the Genuine line, I KNEW I had to use it for my favorite picture taken of my hubby and son the day he was born.  The colors were perfect!  Another thing I love about the Authentique lines of paper is how well they all work together.  I was able to find papers from Free Bird series of papers that blended nicely with the Genuine kit.  I was also able to use my scraps from the strips of Free Bird to make the flowers to the lower left of the picture.


For this layout I used:
  • Genuine: Perfection & Forever (from the 6x6 bundle)
  • Free Bird: Poised and Fair-Weather
Cheers!

Monday, February 20, 2012

The Paper Girls Challenge #2

Wow!  What fun it has been seeing the work inspired by the first sketch at The Paper Girls Challenge.  I loved seeing what everyone came with...and I'm even more excited to see what today's challenge will bring.

Using a filmstrip on layouts is a very popular trend in scrapbooking right now (my favorite sketcher, Kristy Lee at Scrapbook Steals even used them in her Garnet 10 sketch last week!).  Even with the popularity of filmstrips, when Erica Bass said that this would be the theme for Challenge #2, I got a little scared...I don't have any photobooth/filmstrip style photographs, so what was I going to do?  I decided to make my own.  I have to say, I like the outcome!!!

To make my own filmstrip look, I grabbed one of my favorite punches right now: EK Success's Circle Large Edger punch and some black paper and punched away.


After I punch the border, I cut most of the loops off to created the look of the edge of a filmstrip - and as a bonus, I have a border I can use on a future layout!  :-)


And here is the final outcome and my LO for The Paper Girls Challenge #2.  The paper, letters and flower embellishments are all from Echo Park's For the Record. This is actually part of my book about our trip to the Missouri Botanical Gardens in 2010, so you won't see my usual date and information I usually put on the page. 


I hope you enjoyed playing along with us. I look forward to seeing everyone's creations. Be sure to check back on March 5th for the next challenge (mine!). Remember, you can take the The Paper Girls with you wherever you are with The Paper Girls Challenge QR Code:


Cheers!

Monday, February 6, 2012

The Paper Girls Challenge

If you have arrived here from The Paper Girls Challenge, welcome!  I'm glad you joined us for our first challenge.  I had a great time working on the sketch from Judy Stech.  If you are starting on my blog, this is today's sketch - our 1st ever!:


This was such a fun sketch.  When I saw it, I knew I wanted to use a picture of my hubby and I from our Anniversary.  It was taken at my nephew's high school JV football game.  I know, what a way to spend our anniversary, but in truth, it was great.  After spending 4 years away from family, it was great to be able to go out and support him.  And being so close to Valentine's Day, it just seemed right to scrap about my honey.

To make this page, I grabbed some of my favorite Stampin' Up products:
Lap of Luxury Designer Paper, Full Heart Paper Punch, Mini Clothespins, Eyelit border punch, and Wisteria Wonder ink, pen and baker's twine. (All can be purchased at my Stampin' Up site: stampinkristy.stampinup.net).  The hearts at the bottom are 2 hearts layered together and hand stitched on to the paper to add a little deminsion.  I also punched 2 sets of hearts for the banner, and sandwiched the twine between the hearts.  You will see me use Thickers for my titles, as I did here, 9 times out of 10.  I love these guys!


I hope you enjoyed playing along with us today.  I look forward to seeing everyone's creations.  Be sure to check back on Feb. 20th for the next challenge.  Remember, you can take the sketch with you wherever you are with The Paper Girls Challenge QR Code:


Cheers!

Saturday, February 4, 2012

Winter Blues?!?

Wow!  Sorry it has been so long since I posted here.  Life has kind of gotten away from me.  Since I last checked in, my hubby left the Air Force which sparked a lot of changes in our lives.  All for the best, I promise you.  One thing that helped keep my sanity is my crafting.  I have been trying to make at least a page or card a week.  So far, so good!

As I started looking through my pictures, I realized my go to color for January was aqua.  I think I like it so much because I can use it for pages for my daughter and my son.  So no, I don't have the winter blues.  It is just a really pretty color!  :-)  Here are some of my "Blue Period" works.


I am part of a Cricut Card making group.  For January, we were asked to make a birthday card.  Every girl wanted to be treated like a queen, so I thought this would be a fun card for a birthday girl.


Next up, my Christmas morning picture of my kids.  I loved this picture.  And thanks to www.scrapbooksteals.com's Garnet 7 sketch, I found a fun way to scrap it.  There were so many colors in the actual picture, that I wanted to keep the papers and embellishments simple.  We R Memory Keeper's Merry January paper seemed perfect for this to me.


In October, I had the chance to go to the Scrapbook Steals Retreat in Salt Lake City, UT.  It was an amazing trip, and I met a lot of WONDERFUL girls.  Of course, I had to make a page about it.  This picture was taken outside their warehouse after our tour.  Scrapbook Steals is truly my "Not So Guilty Pleasure".  Again, I used one of SS's wonderful sketches.  This one is Garnet 2.  There are 48 little brads throughout this page.  Let me tell you, my fingers hurt after setting all these!


Last but not least is a page about me and my kids.  This picture was taken on my 35th birthday.  I am usually the one behind the lens, so it is a rare treat to get a picture of me and my kids.  The pink vines running down the side of the page are actually the cut outs from the doilley on the layout above that I sprayed with Glimmer mist to add a little color and definition.  I like being able to take advantage of "scraps".  The brown background is actually a piece of kraft paper crinkled, sprayed with rubbing alcohol and then spread out to dry.  I remember doing this as a kid, so it was fun to incorporate it into my "grown up" work.


And now some of my biggest news.  I have joined up with 8 other incredibly talented girls to start The Paper Girls Challenge.  Starting Monday, Feb. 6, one of us will post a sketch, inspriation, or challenge for you to play along with.  Every other Monday there will be a new post.  I hope you join us. 

Cheers!

Saturday, August 13, 2011

Wow! Me? Really?!?

Wow!  When Kristy Lee from Scrapbook Steals contacted me to be a guest sketcher for their MidWeek Mojos, I thought maybe she had the wrong girl!  The Scrapbook Steals community has so many talented girls involved with it, I couldn't believe it was me.  But it was, and I was given a challenge to work with with Pebbles Ever After papers and embellishments.  I don't usually work with princess paper, but I was pleasantly surprised by how quickly my design came together - and even though the kit was very, VERY girly, I was still able to do a boy layout too! 


To see more of this layout, check out the Scrapbook Steals blog:
http://scrapbooksteals.stealnetwork.com/wp/2011/08/10/pebbles-ever-after-mid-week-mojo/

There may even be some kits left in their archives if you want to try your hand at this collection.

Happy Scrappin'!