Saturday, January 26, 2013

Pinspired Challenge #2

This is week 2 of Pinspired Challenge.  The blue and greys of their  inspiration is what I picked up on for my project.  I needed to make a 20 yr old boys card.  I have the hardest time with these types of cards.  I figured these were safe colors to work with for him.


I just wanted to make a quick card with out a lot of frills. My nephews always tease me about knowing which cards is mine because it is so bumpy in the envelope.  I used all Stampin' Up produced with this card.  I colorblocked with my clear Acrylic Blocks (118491), using Summer Starfruit (126991), Night of Navy (126970), and Basic Grey (126981). The paper is the Print Poetry Designer Designer Series Paper Stack (129312) in the new Spring Catalog.   The Happy Birthday Stamp is from the special Best of Birthdays (132929) stamp set, released for Stampin' Up's 25th Anniversary, stamped in Night of Navy.

 
Cheers!
Kristy

Friday, January 25, 2013

Kiwi Lane Design - Weekend Whimsy


Today is my first Design Team project for Kiwi Lane Designs.  Every other Friday, they feather a Weekend Whimsy project on the blog - showing how to use Designer Templates in home decor, accessories, etc.
 
For my project, I decided to attempt a banner.  Nothing like trying to do something for the first time for your first ever Design Team project!!!  But I'm glad I did.  I am not one to decorate much for Valentine’s Day around the house, but I decided I want to try to do a banner for it this year.  Authentique’s Lovely was perfect for making a “Love” banner! 
 

I started with a Fancy Pants Chipboard Banner – Half Circle as a base.  As I went through my 6x6 Lovely pad, I started picking out the papers I wanted to use.  There are a lot of beautiful designs in this collection.  The reds and pinks are so vibrant, that I decided to cut the L-O-V-E out of balsa wood on my Cricut so the colors of the papers would stand out.  A little ink to highlight the edges of the letters and viola!

“L”
I used Adorn 3B to create the scalloped edges.  The other elements are die-cuts from Lovely, with the exception of the heart which is from Tim Holtz.

“O”
I have to say, when I saw the Keynote paper, I wanted to do a “You hold the key to my heart” element.  I was so excited to see Authentique had included just this saying in their die-cuts.  So after cutting Keynote with my Adorn 3A template, I found a key in my embellishment collection and tied it all to the “O”.  I highlighted the Adorn cut with some silver Stickles.  The red background is actually leftover Christmas tissue paper Modge Podged onto the chipboard.

“V”
I went to town with Adorn 2A, cutting strips from various papers and lining them up on the chipboard.  I used Tags 1 to anchor my Authentique die-cut and added a few pearls and a cabochon - which is one I really thought I would never use, but here it is!  (I am not one for black flowers.) 

“E”
Can you spot the Winter 2 template?  Those two little love birds are sitting on one branch of the snowflake.  A little Liquid Pearls added a touch of "snow" on the branch.  I also used Tag 7 as a background for the chipboard.  One thing I love about Authentique’s die-cuts is that have patterned paper on the back of each one.  The stamp element is one of their die-cuts, simply flipped over. 

Roly Poly Flowers
I used Paisley Place 2A to make the flowers on the L and the V banner.  I cut a 12” strip paper from Authentique’s older collection, Uncommon.  After rubbing it along a table to make the paper soft, I sprayed them with a little Glimmer Mist (to help make them wet and add a little shine – though I think a lot of that shine ended up on my hands) and started rolling them.  I quickly learned that I the best thing to do was add a little fold into the paper to help it wrap smoothly.  A little pink Glimmer Mist sprayed directly in the center of the flowers gave them a little more pop. 

I hope you enjoyed my Weekend Whimsy and I’ve inspired you to try making a banner of your own.  I have a little challenge to you - grab something you thought you would never use - and USE it - as I did with my banner and the black cabachon.
Cheers!
Kristy

Monday, January 21, 2013

PGCB #24: Wooden Elements

Welcome back for another challenge from The Paper Girls Challenge.  I loved Heather's challenge to use wooden elements on our projects. I'm totally in love with Studio Calico's wood veneers. They come in so many shapes and sizes.

For my project, I used Studio Calico's Scalloped Circles and Potty People (cute name!).  I colored then with spray mists and added them represent my hubby and daughter.  I also grabbed my Kiwi Lane Ring 4 to create the ring on the lower corner of my page.


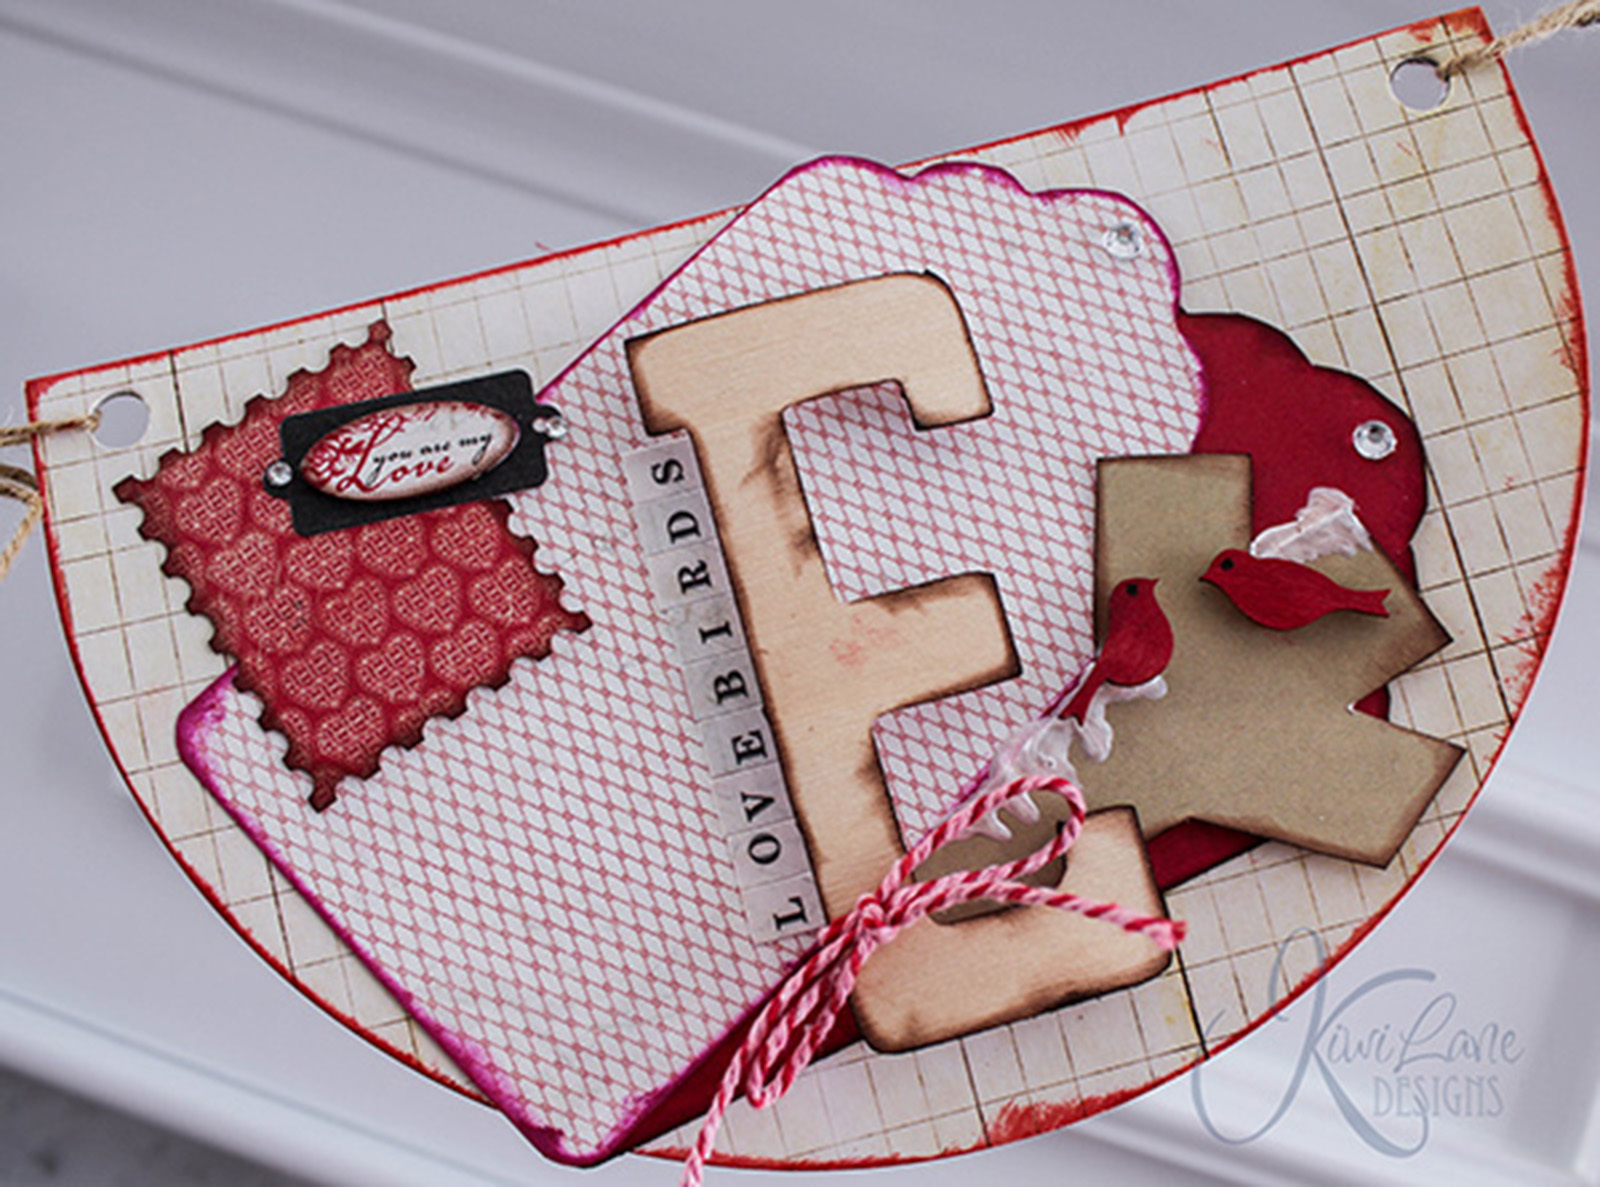
I also wanted to share another project I did with the wood veneers. This is the cover for my Project Life book.  Sorry the image isn't quite as crisp as I would like, but this is already in a sheet protector.  For this project, I used Potty People, Tweet (one of my all time FAVES), Scalloped Circles and Stars.  Wood veneers can be use for everything from adding little accents to highlighting an element on a page, like the 2013 on the far right hand card.
 
 
Thanks for stopping by.  I hope you can participate with this challenge.  Remember, it doesn't have to be wood veneers, it can be anything with a wood element to it - even that little twig you collected from the yard.  You have until February 2nd to link up your project at The Paper Girls Challenge website.
 
I still have some blog candy waiting to be given away.  When I hit 100 followers, I will draw a name for a prize.
 
Cheers!
Kristy

Friday, January 18, 2013

Card Exchanges - Birthday

I wanted to share a little birthday card I made today for a couple card exchanges.  I have loved the Owl Occasions stamp set from Stampin' Up since it was released in the Winter Catalog (you can still get the stamp brush set here).  I thought he would be fun for a boy or a girl...or a man or a woman for that matter. It seems like everybody loves owls.

I am also entering this card on the Pinspired Challenges this week.  They are a new site that started just this week.  Their first challenge was to use this great birthday cake pin off of Pinterest as your inspiration.  I latched on to the polka dots and ran with it.

The Challenge:

My card:

Products used:
Owl Occasions Stamp Set by Stampin' Up (#128003)

Stampin' Up inks: Chocolate Chip, Taken with Teal, Going Gray, Basic Black, 2012-2013 In Colors
3/4" circle Punch by Stampin' Up
Kiwi Lane Templates: Scallops 1B
Miscellaneous washi, gems and googly eyes from my stash

Thanks for visiting! 

Cheers!
Kristy

Monday, January 7, 2013

PGC #23 - Ledger Paper

I loved Charity's Ledger Paper challenge on Paper Girls Challenge. It was fun seeing all the Paper Girls' projects...and we all used ledger paper in such different ways.
It seems like nearly every collection released in the last few years has at least 1 page of ledger paper, usually on the "B"side. I grabbed a piece from My Mind's Eye Miss Caroline collection for the background. A few other pieces from My Mind's Eye's beautiful collections, some Kiwi Lane templates, a few spritz of mists, and viola, a layout befitting maybe one of my favorite pictures of my son at the beach.
 

Paper and embellishments from My Mind's Eye Follow Your Heart, Miss Caroline, and On the Bright Side; Kiwi Lane Designs Templates:  Paisley Place 2A, Adorn 2A and Tags 7.

 
Thank you for visiting! If you aren't a follower, I would love it if you would join. I have some blog candy just waiting to go to a happy home.

Cheers!
Kristy
Posted by Picasa

Tuesday, January 1, 2013

LGS December Week 5

Happy New Year's everyone!  I wish everyone a happy and healthy 2013!!! 

I have a lot of goals for 2013.  My crafty goals include starting Project Life and One Little Word.  I hope to blog about these projects as I go along. 

2013 also starts my 6 month term on Kiwi Lane's Design Team.  I kicked off the new year using a number of KLD's templates to create a layout of my son being thrown through the air.  I was inspired by Let's Get Sketchy's December Week 4 sketch and Week 5 Not So Picture Perfect Challenge.  Many of the pictures from this day were blurry and Kevin was thrown out of frame in one of them.  I never thought I would use these pics, but I think they worked out great after all.

Here is how I laid out my page with the templates:


And the final page:


Here is what I used:
Lily Bee Handmade collection
Kiwi Lane templates:
     Rings 4
     Wacky 1
     Tags 1
     Strip Set 3", 2" mini and 1" mini
American Crafts Thickers
Stampin' Up buttons
MS Candy Dots
Maya Road felt arrows
Studio Calico Darling Dear vellum shapes
My Mind's Eye twine

Cheers!
Kristy