
It is time again to have a Weekend Whimsy project on Kiwi Lane's blog. You wouldn't know that I really hadn't done any of this type of project before starting on the Kiwi Lane design team (shhhh, don't tell Kristy Lee). Now I've gone through half a big bottle of Modge Podge and don't see myself stopping anytime soon! ;-)
For my project featuring Quick Quotes papers, I knew I wanted to do a covered wooden piece. I wasn’t sure if I was going to
do some Spring letters to put on my mantle or the letters of my daughter’s
name. But while shopping in Spring
project aisle at my Michael's, I found some fun bare wood shapes and
KNEW this was what I had to do.
Actually, I should probably call this my daughter’s Weekend Whimsy
project because she picked out the owl.
And the Quick Quotes (QQ)
papers were perfect to make a pretty little girl owl for her room.
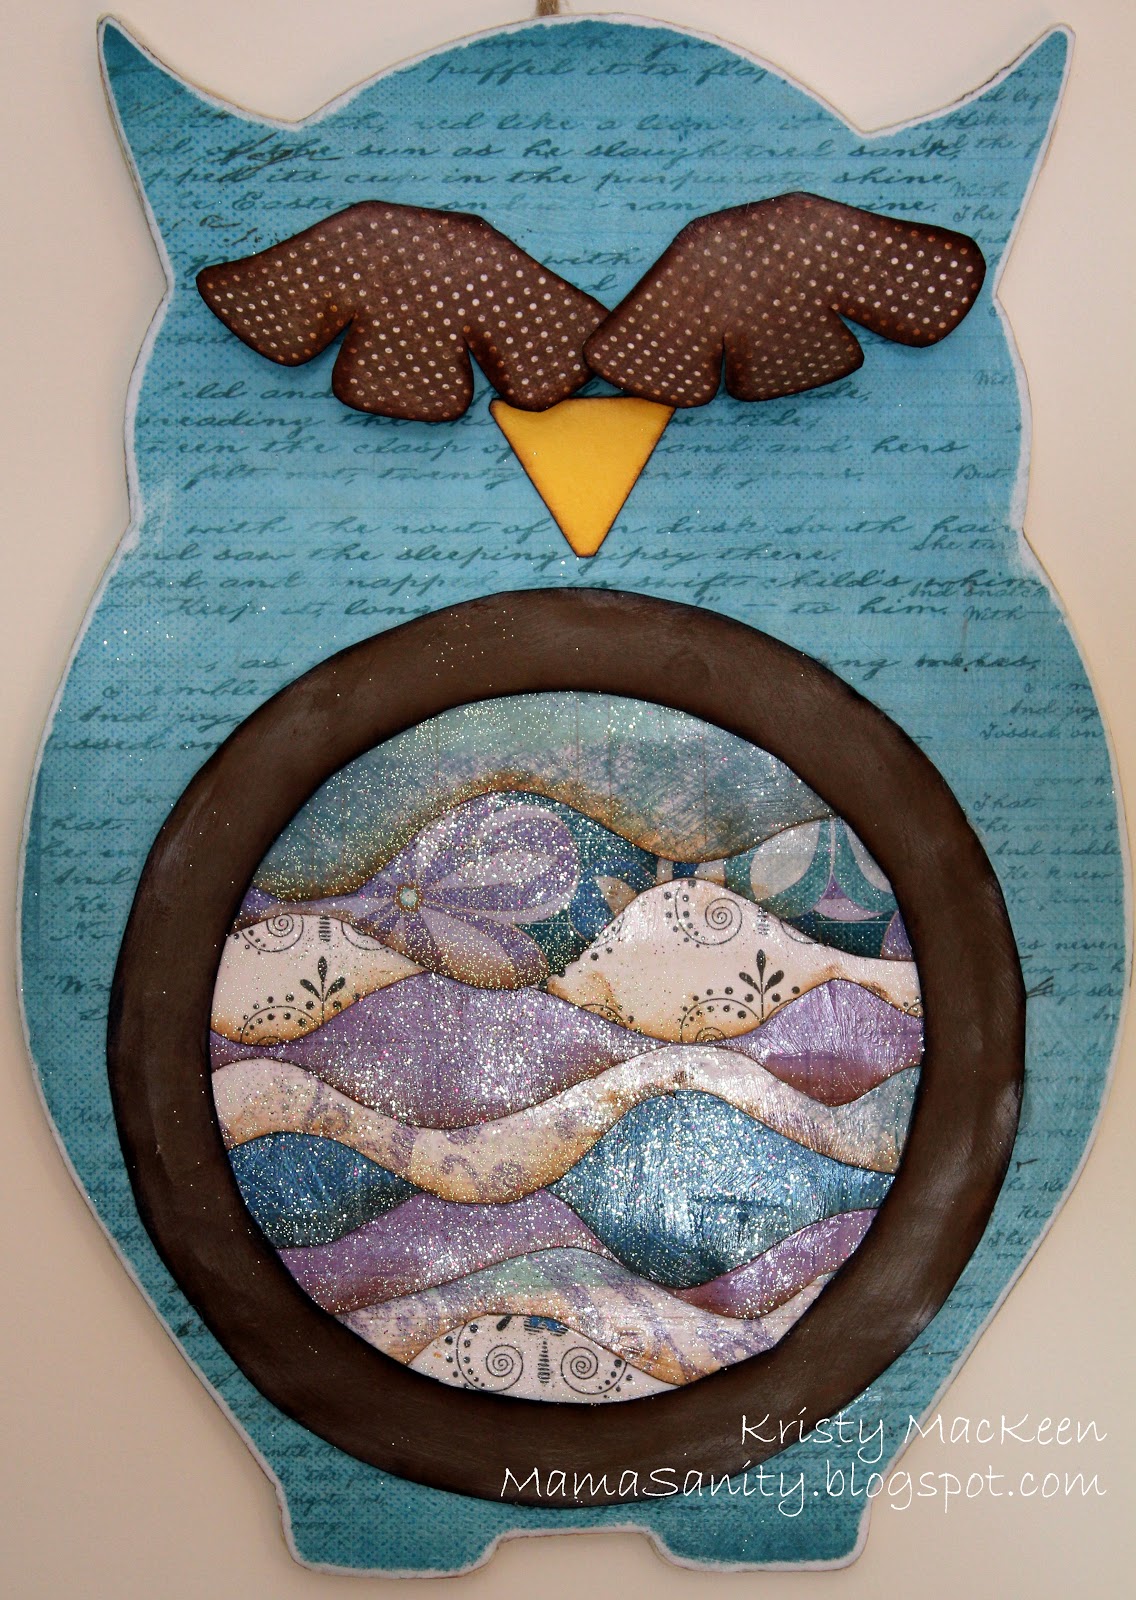
Here is a peek of the bare and finished owl.

In looking at the templates featured for the month, I
thought Mini Paisley would make good feathers on this little owl’s belly. But before I could get to that point, I
needed to prep the owl.


To make it easier to lay out the “feathers” of the belly, I
took an 8x8 paper and laid out all my cut Mini Paisley strips, varying the
placement of the 2A, 2B, 3A, and 3B cuts within the square. I used QQ
Summer Breeze 100, 300 and 400 to
make the layers. (And yes, I did erase
the pencil lines before I inked and Modge Podge’d the feathers). Rings
4 was a perfect size to use a template to cut the circle of feathers and make
a “highlight” ring for her belly. The
final step before attaching the ring to the owl was to paint it with Glossy
Modge Podge, and sprinkle with a little glitter I had left over from another
project. (My daughter LOVED that touch
when she saw the final project!)
All that was left was to use some QQ Stowaway 400 paper
with my Tiny Wildflower 1T template to make some sassy eyelashes and Tiny
Shapes 1T for a beak (after both kids asked where her nose was). I covered everything with another layer of
matte Modge Podge (except the belly feathers, which I tried not to touch).
Now it is just a matter of hanging her up in my daughter’s
room – and I will have one very happy girl!
This really was a quick project.
The longest part was waiting for the Modge Podge to dry.
I hope you enjoyed!
Don't forget - I have a giveaway going on here.
See you Monday with a new Paper Girls Challenge. Have a Happy Easter!
Cheers!
Kristy
Kristy


