Showing posts with label Valentine's Day. Show all posts

Thursday, February 14, 2013

Happy Valentine's Day

As Valentine's Day is winding down in our house, I thought I would share the cards I made for my family. 
 
First off, my son's card:
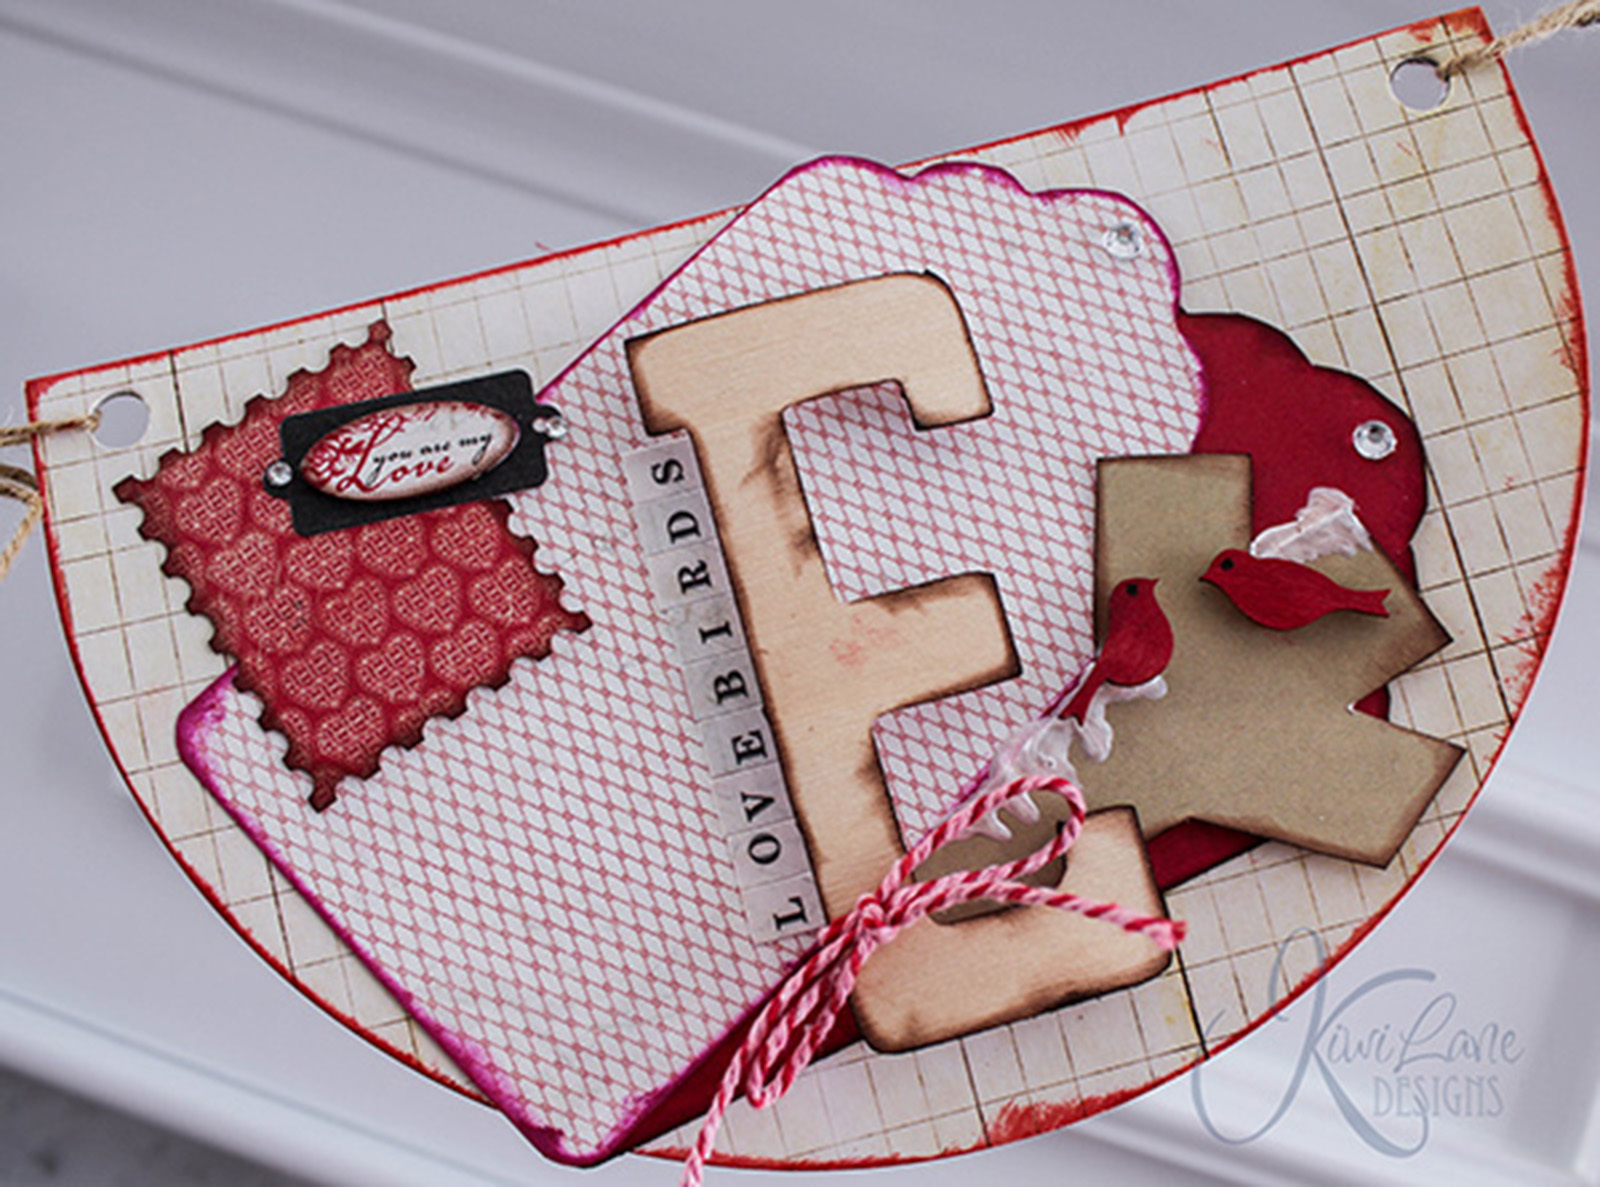
I used Kiwi Lane's Sentiments 2A to create the road by drawing the curves once, then moving it down a bit and tracing the curve again.  The stamps are all from Stampin' Up.


Now my husband's card:
I used Kiwi Lane's Ring 1 & 2 to make the moon, and Sentiment 2 for the heart in the background.  The stars are from an old punch I had in my stash.  I misted the background with 2 shades - a blue and a purply/black color.  (I wish they came out better in this picture.)  The paper is from my Studio Calico monthly card kits.  
 
 
And last, but not least, my daughter's card:
I am loving the white on white tone that is popular right now, so I used an embossed piece of white background, popped off a white card base.  I used a lot of scraps for making the skirt on this card.  I punched the patterned paper and adhered it to a dress I cut with my Cricut.  The hanger is from Stampin' Up's new Hung Up Cute Clips
 
 
I hope you enjoyed a peek at my cards from today. 
 
I have one more piece of business to address.  If anyone knows Mrs. Flaherty, please let her know she won on my blog for the Kiwi Lane Designs Blog Hop, and she has until tomorrow claim her prize or I will be picking another name.
 
Cheers!
Kristy
 

Friday, January 25, 2013

Kiwi Lane Design - Weekend Whimsy


Today is my first Design Team project for Kiwi Lane Designs.  Every other Friday, they feather a Weekend Whimsy project on the blog - showing how to use Designer Templates in home decor, accessories, etc.
 
For my project, I decided to attempt a banner.  Nothing like trying to do something for the first time for your first ever Design Team project!!!  But I'm glad I did.  I am not one to decorate much for Valentine’s Day around the house, but I decided I want to try to do a banner for it this year.  Authentique’s Lovely was perfect for making a “Love” banner! 
 

I started with a Fancy Pants Chipboard Banner – Half Circle as a base.  As I went through my 6x6 Lovely pad, I started picking out the papers I wanted to use.  There are a lot of beautiful designs in this collection.  The reds and pinks are so vibrant, that I decided to cut the L-O-V-E out of balsa wood on my Cricut so the colors of the papers would stand out.  A little ink to highlight the edges of the letters and viola!

“L”
I used Adorn 3B to create the scalloped edges.  The other elements are die-cuts from Lovely, with the exception of the heart which is from Tim Holtz.

“O”
I have to say, when I saw the Keynote paper, I wanted to do a “You hold the key to my heart” element.  I was so excited to see Authentique had included just this saying in their die-cuts.  So after cutting Keynote with my Adorn 3A template, I found a key in my embellishment collection and tied it all to the “O”.  I highlighted the Adorn cut with some silver Stickles.  The red background is actually leftover Christmas tissue paper Modge Podged onto the chipboard.

“V”
I went to town with Adorn 2A, cutting strips from various papers and lining them up on the chipboard.  I used Tags 1 to anchor my Authentique die-cut and added a few pearls and a cabochon - which is one I really thought I would never use, but here it is!  (I am not one for black flowers.) 

“E”
Can you spot the Winter 2 template?  Those two little love birds are sitting on one branch of the snowflake.  A little Liquid Pearls added a touch of "snow" on the branch.  I also used Tag 7 as a background for the chipboard.  One thing I love about Authentique’s die-cuts is that have patterned paper on the back of each one.  The stamp element is one of their die-cuts, simply flipped over. 

Roly Poly Flowers
I used Paisley Place 2A to make the flowers on the L and the V banner.  I cut a 12” strip paper from Authentique’s older collection, Uncommon.  After rubbing it along a table to make the paper soft, I sprayed them with a little Glimmer Mist (to help make them wet and add a little shine – though I think a lot of that shine ended up on my hands) and started rolling them.  I quickly learned that I the best thing to do was add a little fold into the paper to help it wrap smoothly.  A little pink Glimmer Mist sprayed directly in the center of the flowers gave them a little more pop. 

I hope you enjoyed my Weekend Whimsy and I’ve inspired you to try making a banner of your own.  I have a little challenge to you - grab something you thought you would never use - and USE it - as I did with my banner and the black cabachon.
Cheers!
Kristy